Introduction
There are currently around 9.1 million online retailers around the world today and countless millions of other businesses to compete with.
Because of the large amount of competition, it is important to do what you can to make your products stand out. Learning the basics of product photography is a great way to start.
Read on to learn more about how to create the best product photography setup without breaking the bank.
What Is Product Photography and Why Is It Important?
Product photography, or e-commerce photography, is nearly exactly what it sounds like. It is photos that are taken of the products you are selling to display on your website or social media. Even if you are a crypto business, chances are you are selling something and will need product photos.
Product photography is one of the most important aspects of online business marketing. A good-quality product photo will give your potential customers an idea of what to expect when they receive the product. If your photos are of the best quality, they will also give you credibility and make you appear more professional.
When you showcase your products with photography, you will likely see a higher conversion rate and more sales.
What You Need to Take Product Photos
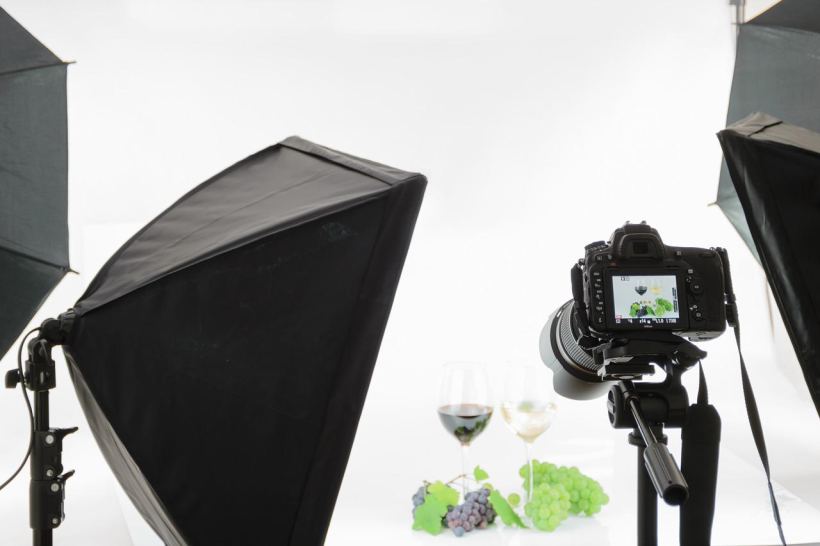
The first step to taking product photos is to gather your supplies. Here are a few things you’ll need before taking your pictures.
- Camera or phone
- White background
- Natural lighting or ring light
- Table
- Your products
As you can see, there are not many things you need to take your own photos. A few simple tools is all it takes.
How to Take Amazing Product Photos
Next, it’s time to take photos. There are a few things you can do to ensure that your images appear crisp, clean, and professional. This is what you need to do to ensure your pictures turn out fantastic.
1. Create Your Setup
The first thing you’ll want to do is create your setup. Set up your table against your white background. if you do not have a white wall or backdrop, then you can use white construction paper or poster board.
Use a wooden or white block to set your products on to prevent any unnecessary shadows.
2. Get the Lighting Right
The secret to taking the best photos starts with proper lighting. Natural light is the best way to go, so taking your photos in a room with lots of windows is a great option. If you do not have a well-lit room, then you can purchase a cheap ring light to hold above your products.
3. Take the Photos
The most important thing to remember when taking your photos is to hold your camera steady. You don’t want to end up with shaky or blurry photos as a result of an unsteady hand. Many people prefer to buy a tripod for their phone or camera to take care of this problem.
4. Edit Your Pictures
After you have taken your photos, it’s time to edit. You can use a photo editing software such as Photoshop to lighten or darken your photos, remove background from an image, or sharpen the features of your product. After you have edited your photos, then you can post them to your website or social media accounts.
Start Taking Your Product Photos Today
Now that you know the basics of product photography, it’s time to get started! All you need are a few simple tools and tricks to take incredible photos.
If you enjoyed this article, then feel free to browse the rest of our blog for more business and technology content.


